Calcite Carving with John LaFortune

- Details
- Written by NWSSA Staff
 The first ever NWSSA Virtual Symposium was quite an accomplishment! Not only did we get 90 or so stone carvers together online, but we managed to continue our professional development opportunities with virtual studio tours and presentations. Most of these were recorded, and are available by signing up for the Virtual Stone Carving Forum. See more at nwssa.org.
In this issue of the journal we will share a preview of John LaFortune’s presentation on sculpting honeycomb calcite.
Calcite Carving with John LaFortune
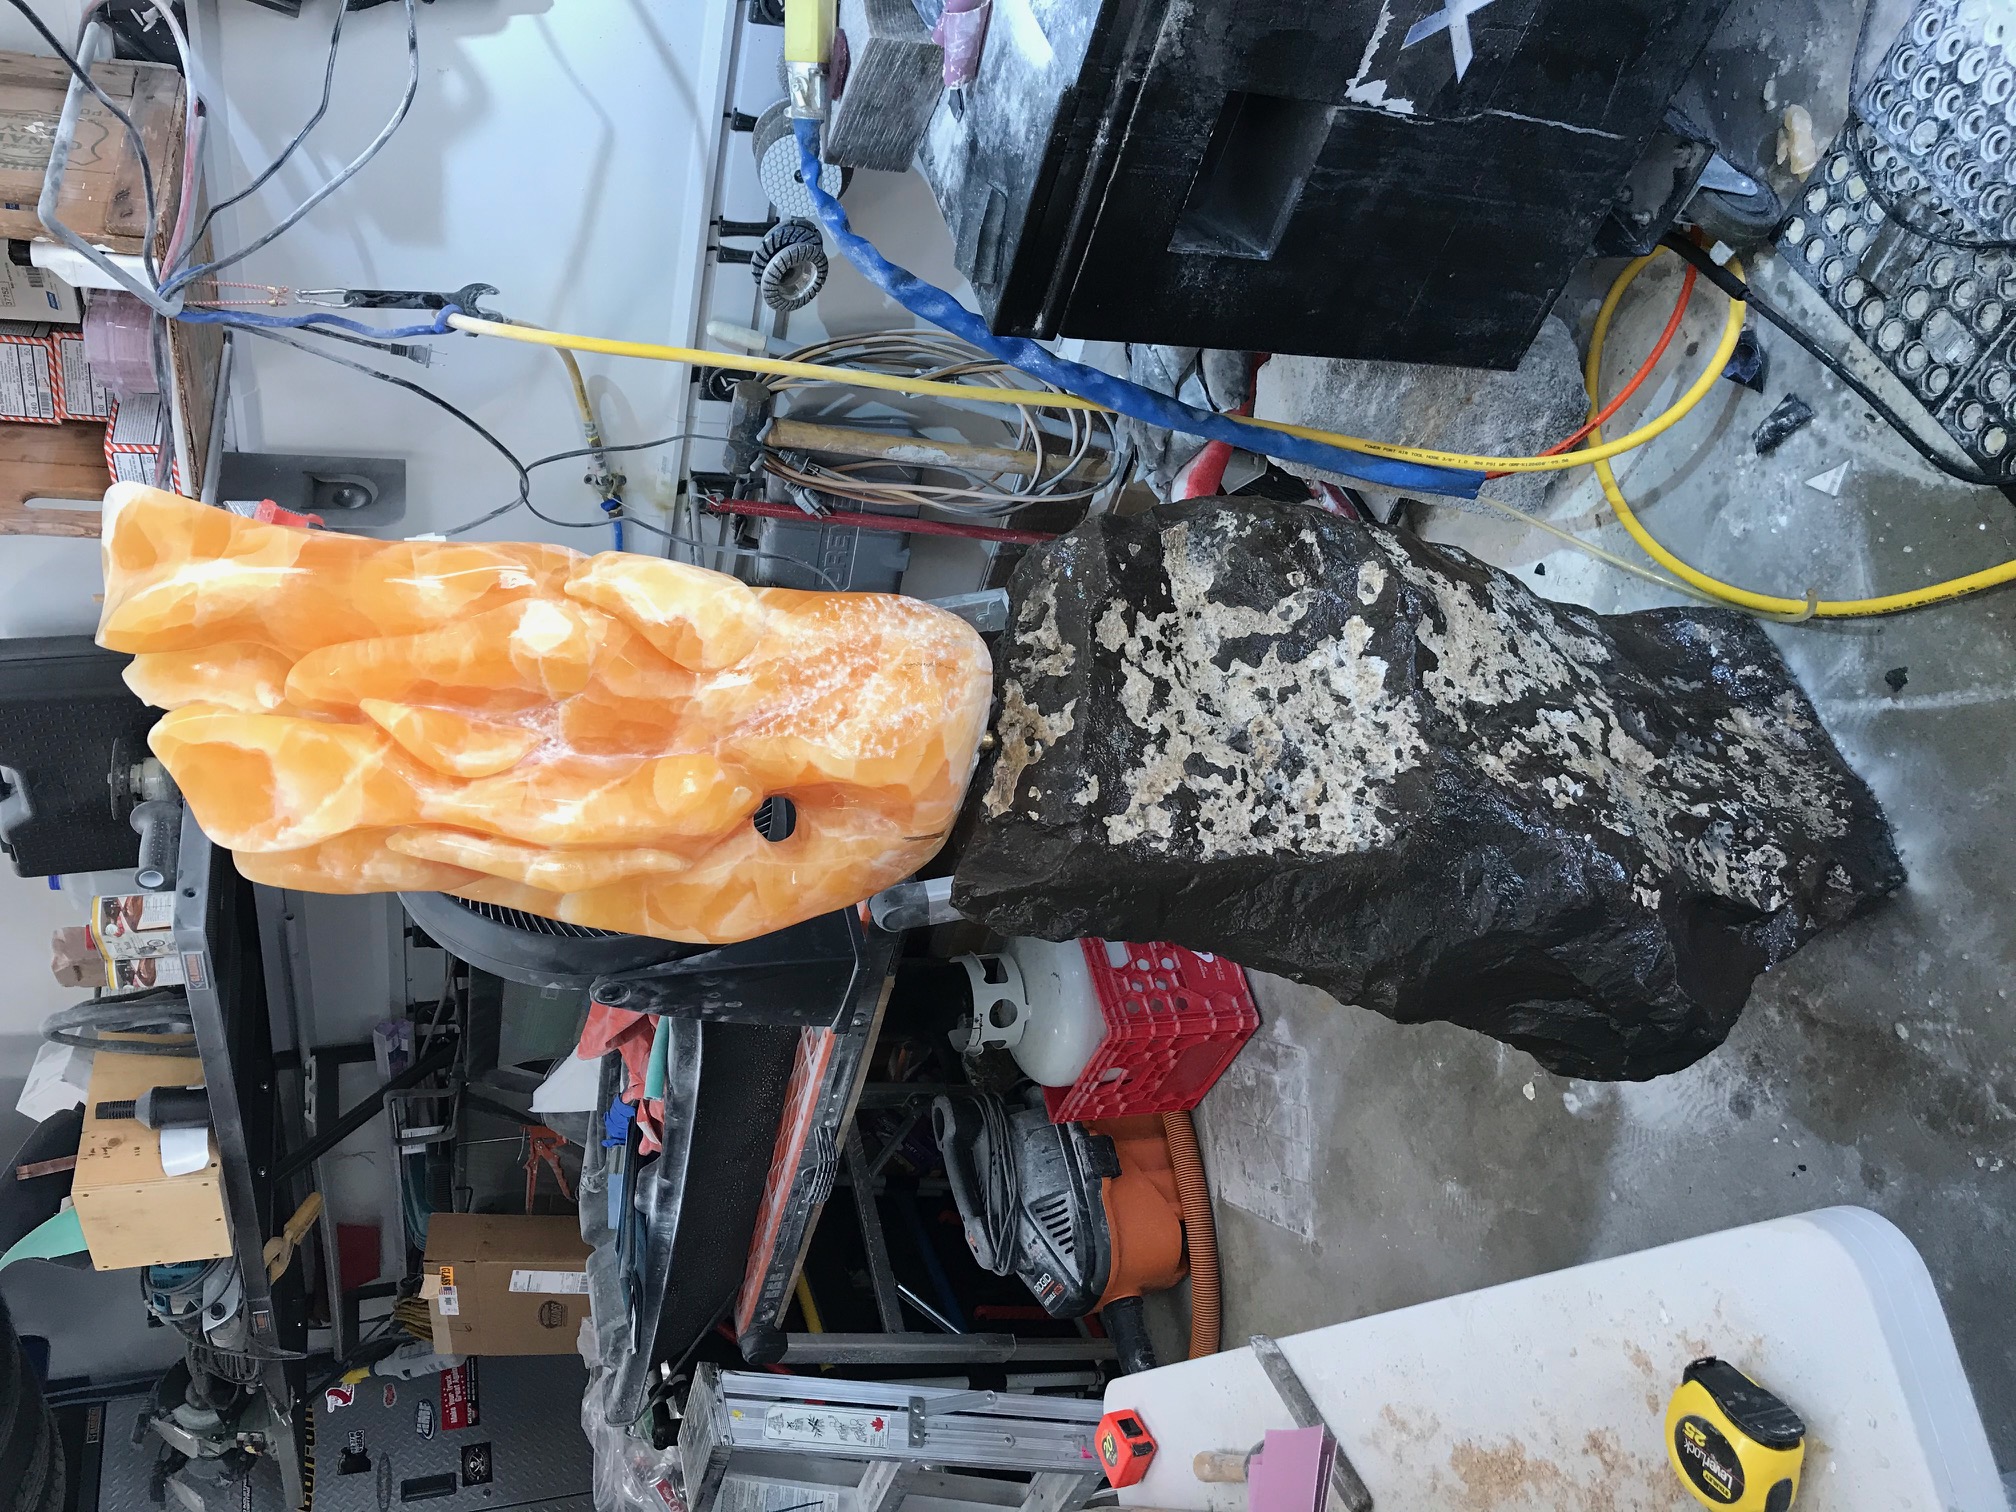
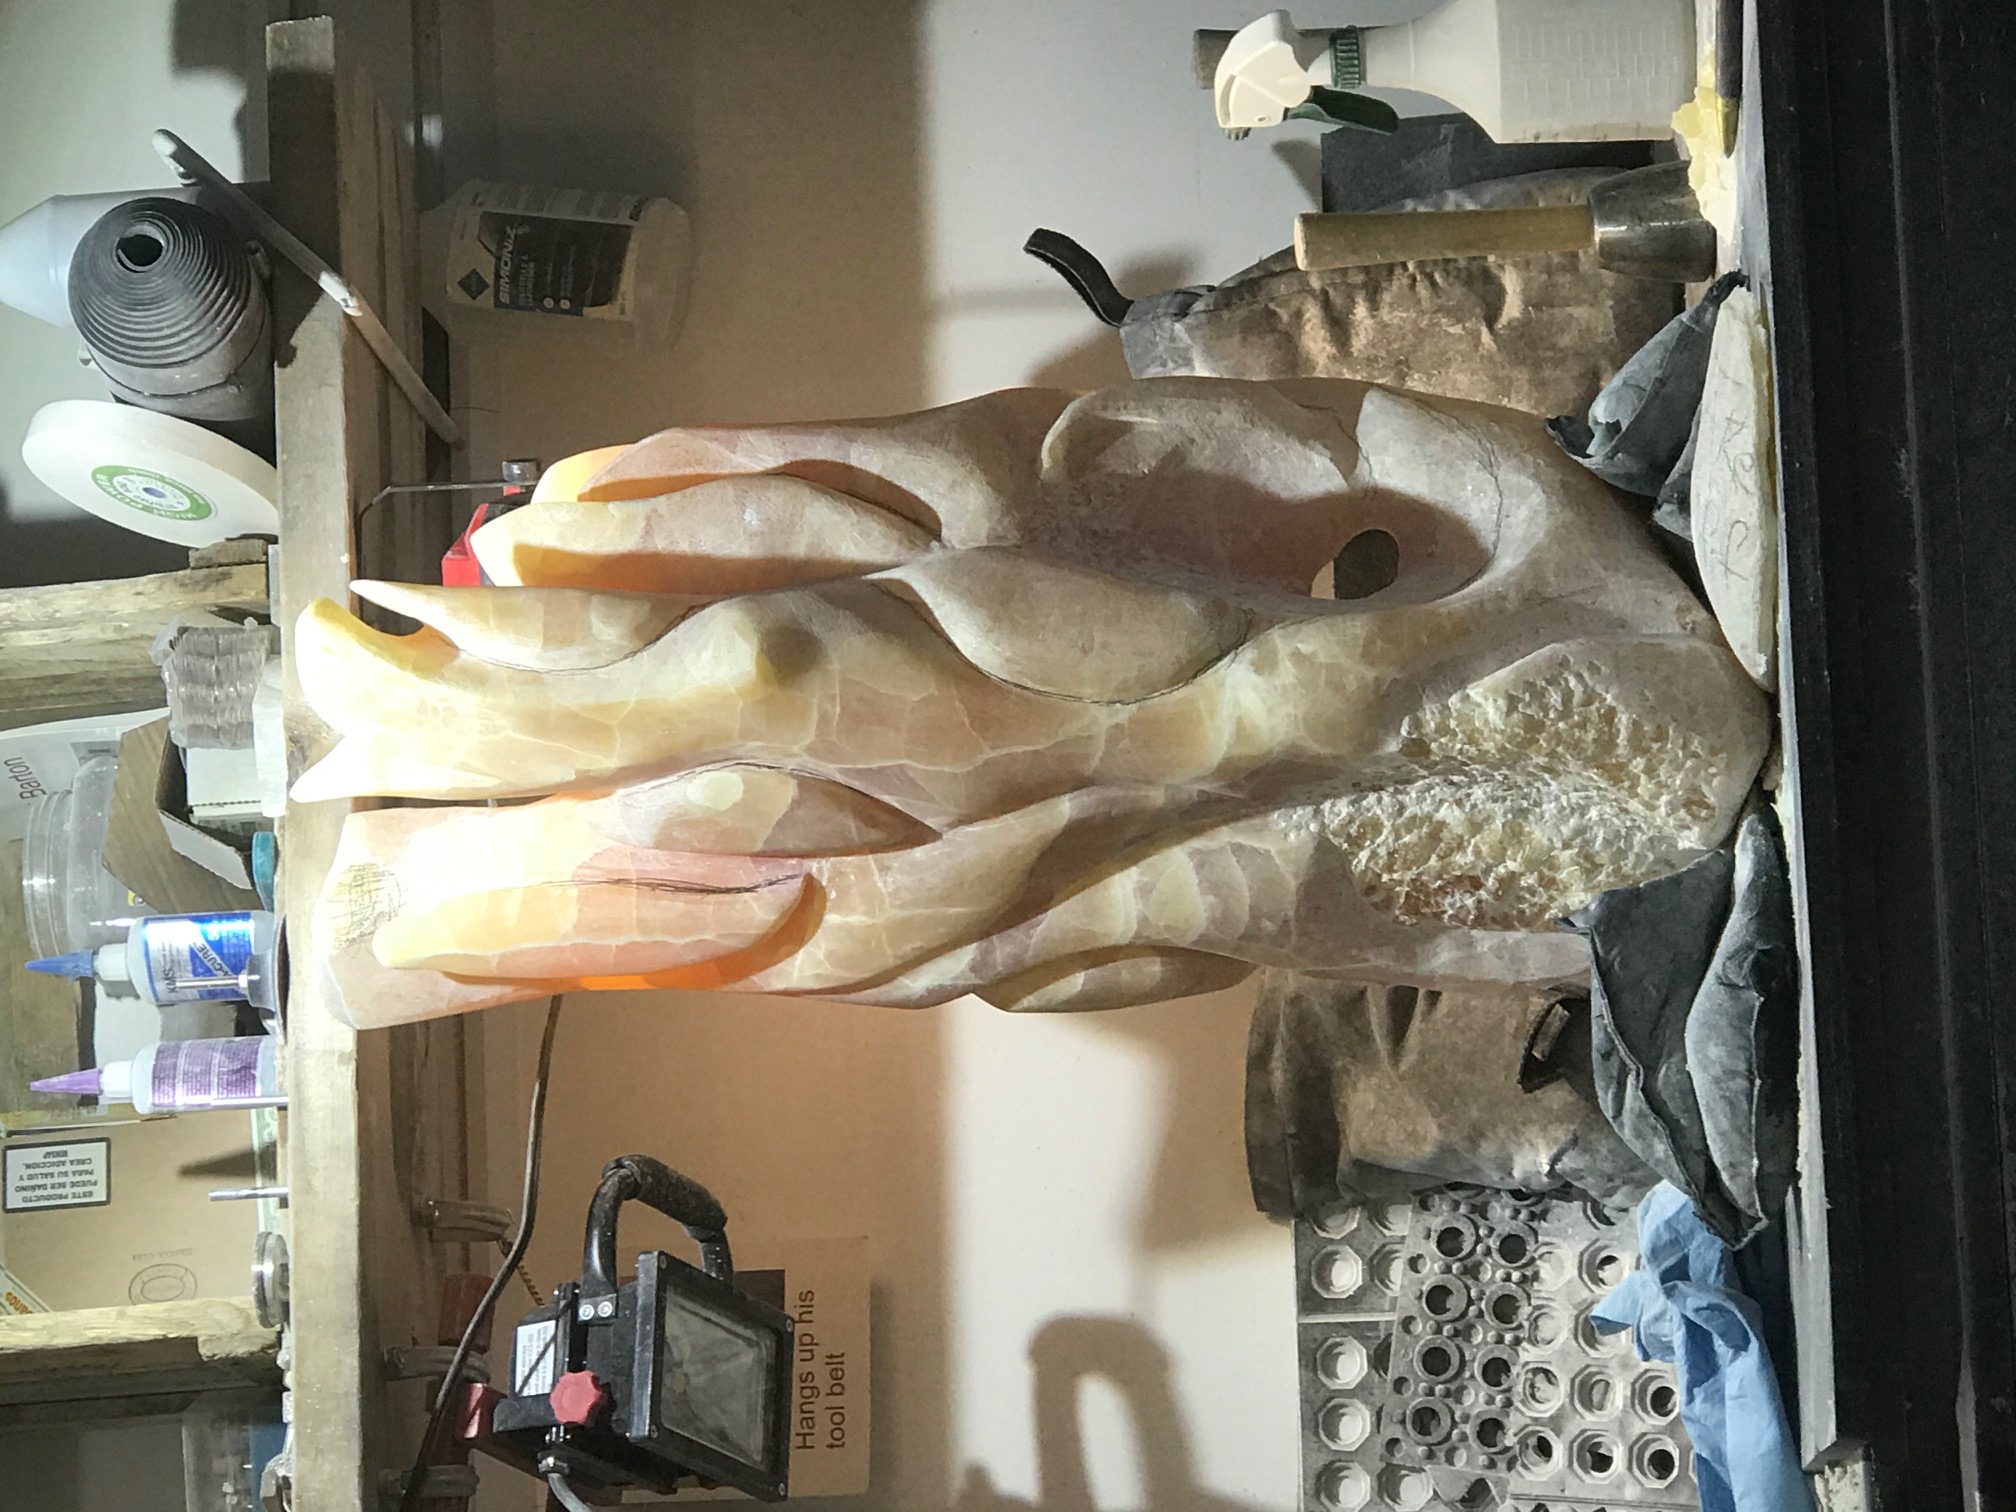
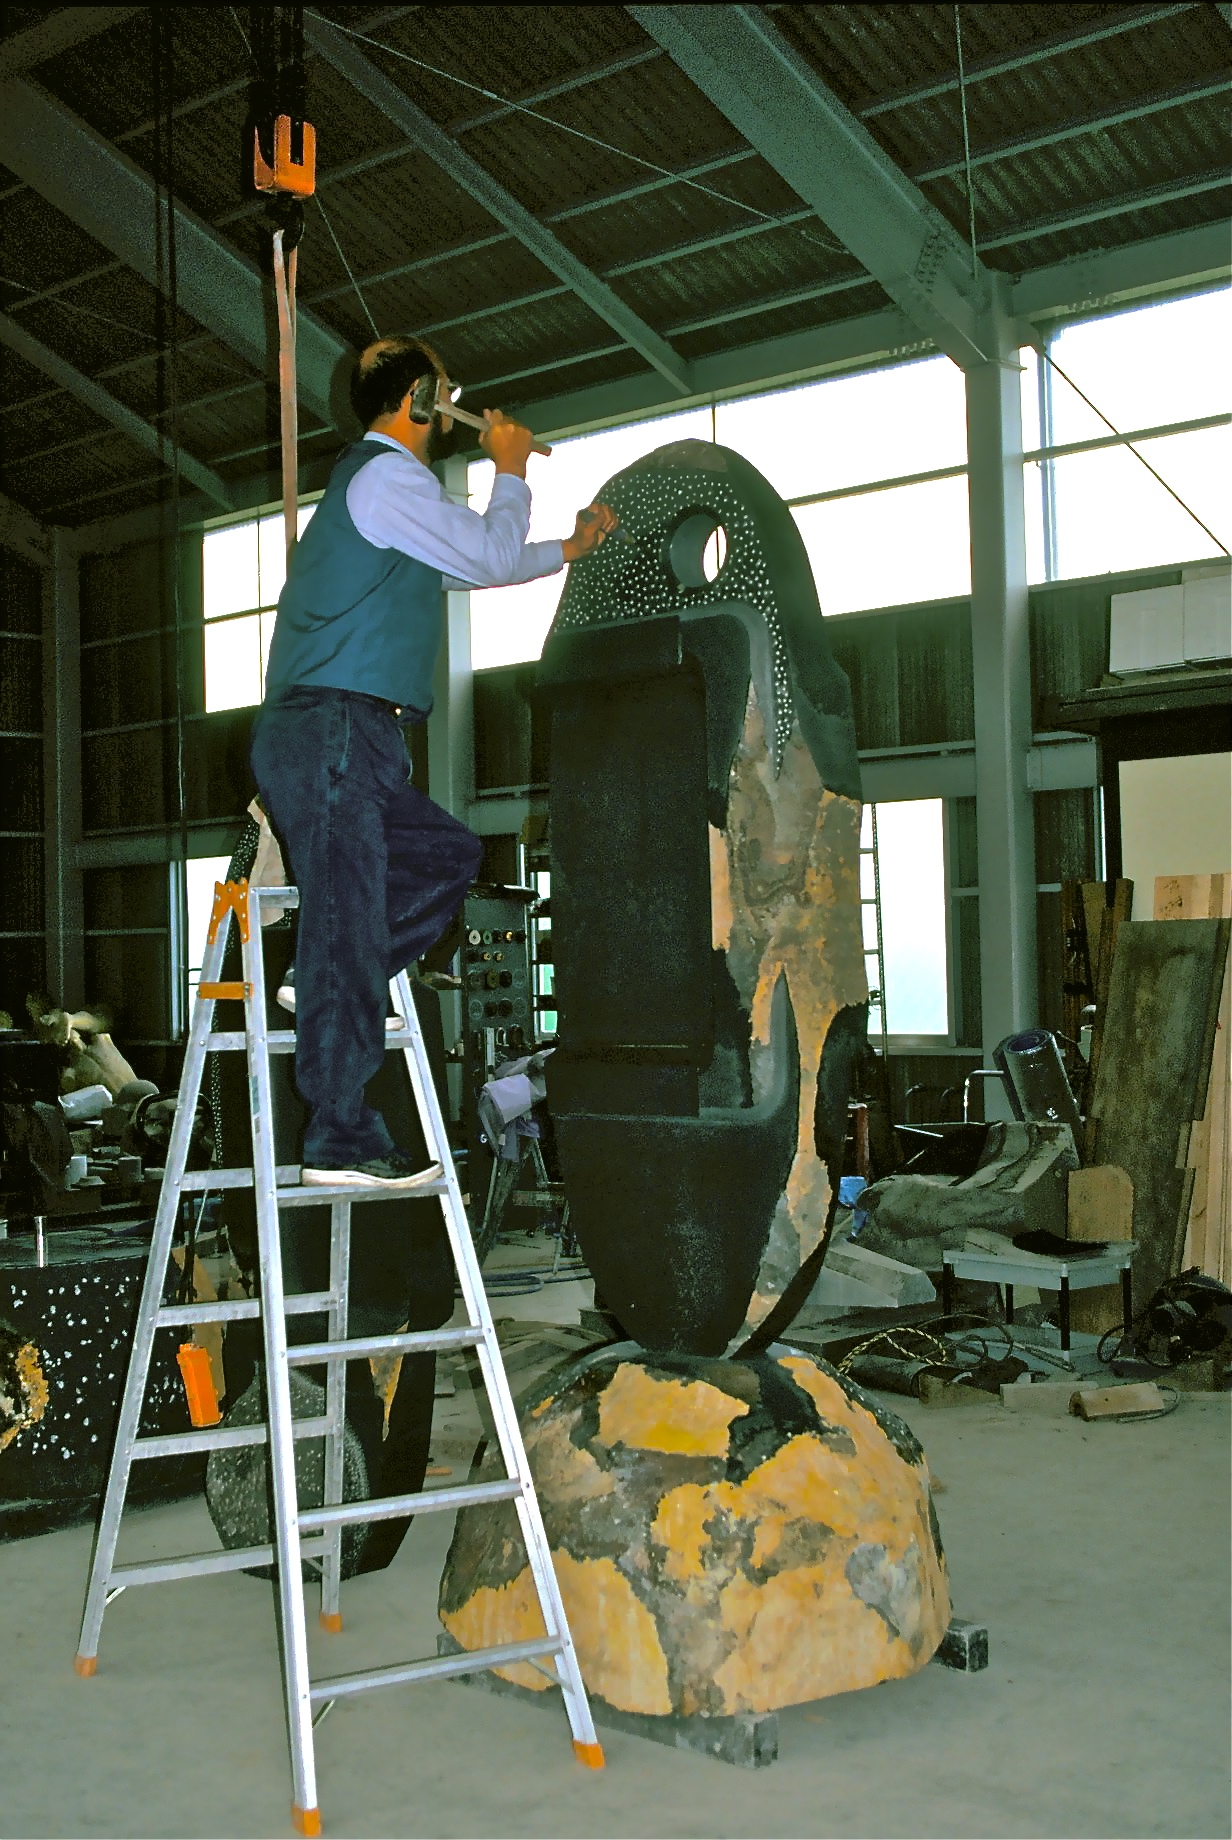
The calcite that I have, I handpicked it right from the quarry, which gives you a better chance of getting what you want. This piece “Fire Storm” is primarily the heavy, dark, amber orange color. Other shades may be more translucent, like those that are sort of a lemon color, but even as thick as this one is it still gets a lot of light coming through the stone. I started this piece June 1st, and finished it up mid-August. It’s going to get delivered soon to Therese Kingsbury’s sculpture garden for display on Whidbey Island.
 The tools I used were primarily my Cuturi pneumatic air hammer with different chisels. I broke all of my tooth chisels! This piece of calcite is quite hard, and I noticed that the chisels would quickly heat up and break. My favorite chisel turned out to be a carbide-tipped rondel, which really carved the calcite like butter. A lot of people say you shouldn’t use pneumatics with calcite because of the vibration, but since I handpicked these stones I felt very confident that they would hold together. Yes, it does bruise, and if you get one forget about sanding it out, you’ll have to grind it down. Usually I like to use Italian rifflers, but they were struggling with the calcite, so I switched to a set of diamond files and was having better luck. For deep channels and the like, I use a mini die grinder with these single cut burrs from the automotive industry. They worked really well on the calcite.
 The finishing is a big deal. Carborundum burrs work fantastically for smoothing out chisel marks and can be found at Neolithic Stone, 2sculpt, and Granquartz. For hand sanding, I highly recommend contoured clay sculpting tools that you can wrap sandpaper around. Cloth-backed sandpaper works well. I dry sand with 80 grit and 120 grit (using a really good respirator) for between 40-80 hours. Dry sanding is not ideal, but I felt that it was important to work dry to be able to see all of the scratches and tool marks clearly. After that I spent 2 hours each wet sanding on 220, 320, 400, and 600 grits. I stop at 600 and it leaves a beautiful satin finish. There are some more tips for carving and finishing this stone, so go online to check out the full video presentation!


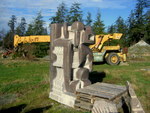 Remember Hank Nelson? He used to be the supplier of power on the field of
  Cloudstone
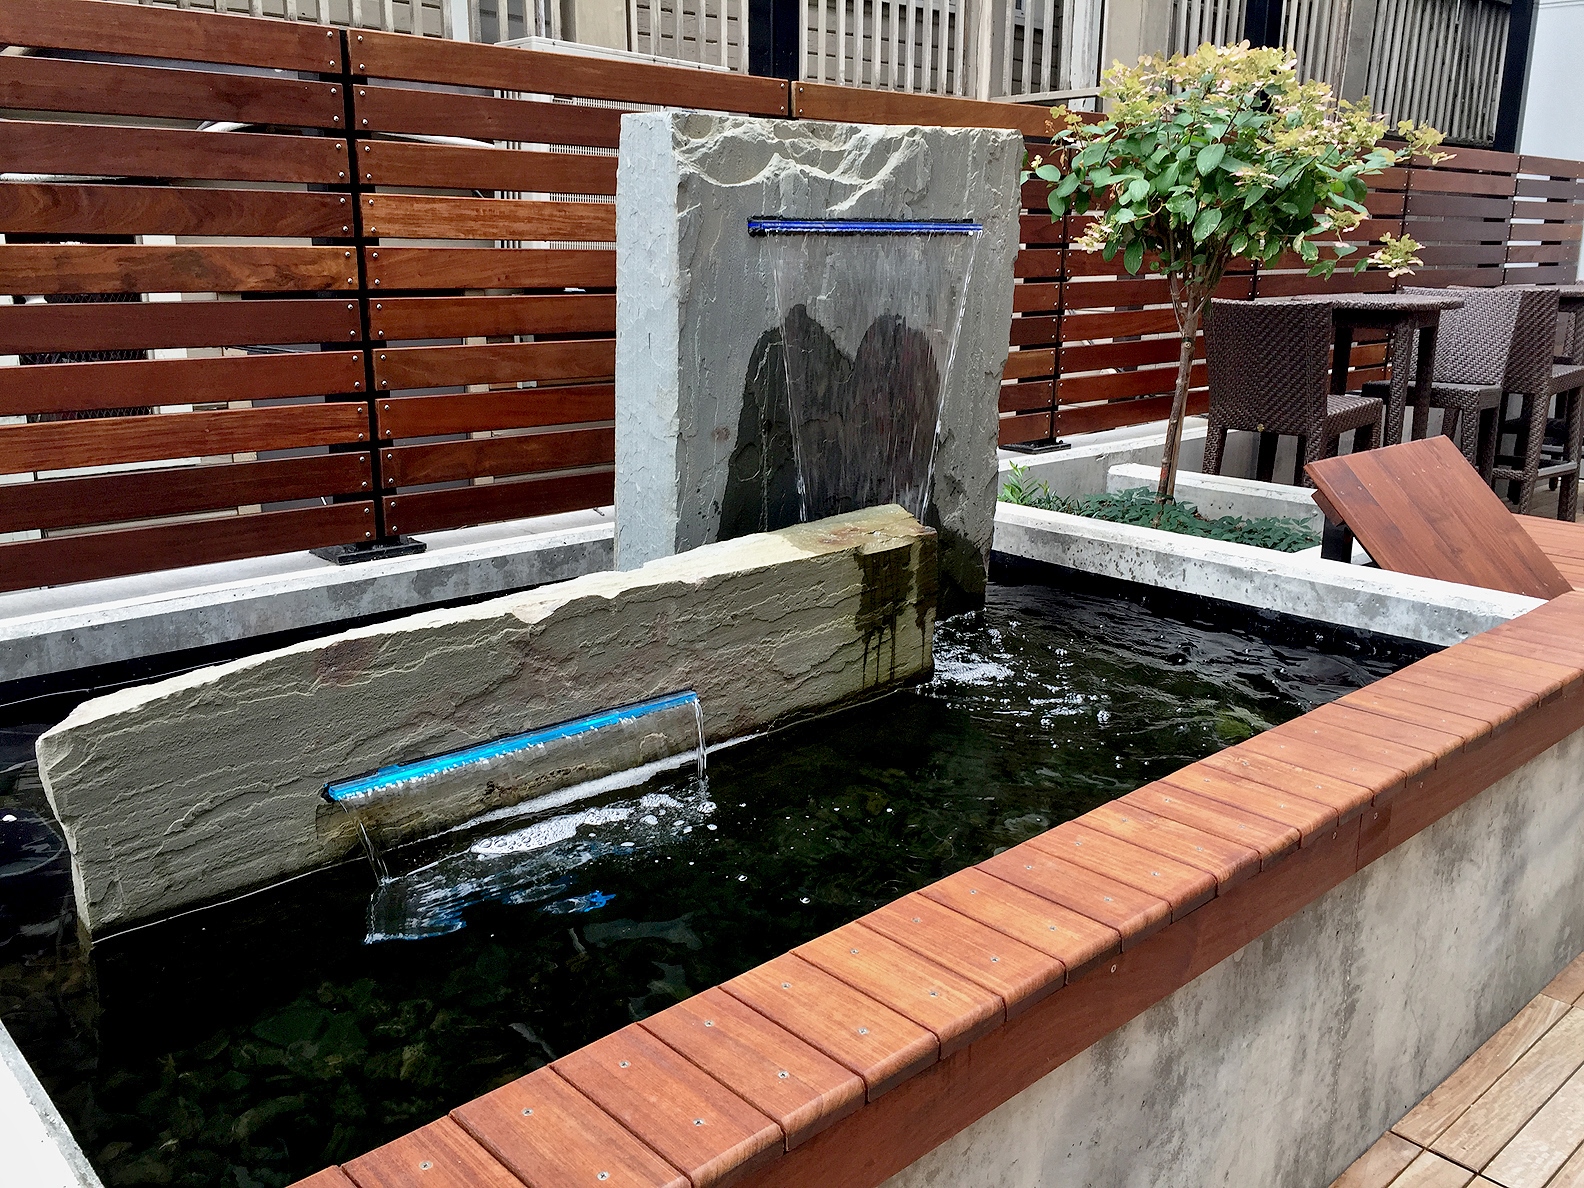
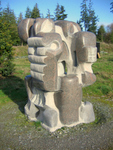 As Kirk Mc Lean observed, Hank has found his proper scale. And not size alone, the complexity, the engineering, the vision. Giant steel constructions reach for the sky. Some of the earthworks are huge cones of cobbles, with spiraling settings of larger stones, and capped with gray granite sculptures, standing and reclining. These are one and two ton pieces, but are dwarfed by their settings. There are canyons carved in the ground, scaped with steel and concrete rubble, like apocalyptic visions you can walk through, if you dare. We were all dumbfounded and overwhelmed. Our old buddy Hank Nelson is creating a marvel to rival any sculpture park anywhere. Uniquely inspiring, Hank’s work is beyond what most of us ever hope for, in power, intensity, and presence. It must be seen and touched, and walked in to be believed. By all means, get out to Whidbey and have a look. You will be amazed!
 By Verena Schwippert